
A few weeks ago, I caught myself doing the exact same thing for the third time that day: copying a new sign-up from one spreadsheet, pasting it into another tool, then typing out the same “thanks for joining” email I’d typed a hundred times before.
It wasn’t hard work. It was just repetitive work. The kind that makes you feel like a very expensive copy-paste machine instead of a person with actual things to build.
That’s when I first heard people mention n8n. And honestly? My first reaction wasn’t excitement — it was confusion. Nodes, triggers, webhooks, self-hosting… it sounded like something built for developers, not for someone like me who just wanted their sign-up emails to send themselves.
Here’s the thing: n8n is a lot more beginner-friendly than it looks from the outside. You don’t need to be technical to start. You just need someone to walk you through it in order — which is exactly what this roadmap is going to do.
By the end of this guide, you’ll know what n8n actually is, whether it’s really free, whether you need to learn to code, and exactly how to build your very first automation. Let’s break it down.
You don’t need to be technical to learn n8n. You need a clear starting point — and the patience to build one small workflow before you build a complicated one.
TL;DR — The Short Version
n8n is a visual automation tool that connects your apps together so repetitive tasks happen automatically. It has a free self-hosted option and a paid cloud option, doesn’t require coding to get started, and the fastest way to learn it is by building one tiny real workflow before attempting anything complex.
What Is n8n, Really? (In Plain English)
Let’s be honest — “n8n” is a strange name for a tool. It’s actually short for “nodemation” (n-8 letters-n), but don’t worry about that part. What matters is what it does.
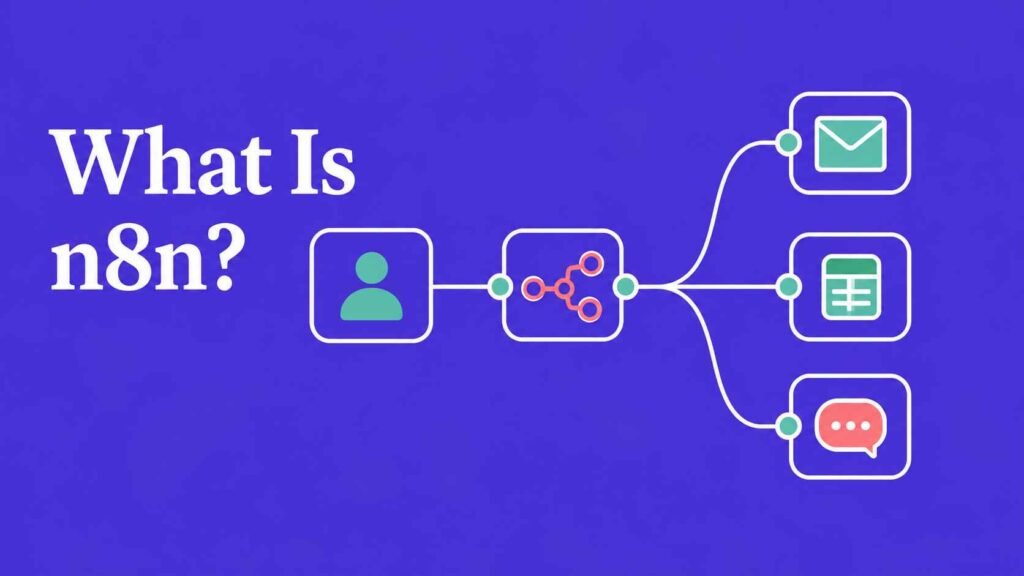
Think of n8n like a chain of dominoes. You set up the first domino — something that happens, like “a new email arrives” or “someone fills out a form.” Once that first domino falls, every domino after it falls automatically: the data gets saved, a message gets sent, a spreadsheet gets updated. You just have to set the dominoes up once.
The “if this, then that” explanation
At its core, n8n follows a simple pattern: if this happens, then do that. If a new customer signs up, then add them to your email list. If a form gets submitted, then send a Slack message to your team. That’s it. Everything else is just building on top of that basic idea.
Where the name actually comes from
n8n stands for “nodemation” — a mix of “node” and “automation.” You’ll see the word “node” a lot in this guide, and don’t let it intimidate you. A node is just one single step in your automation, like one domino in the chain.
Who n8n is actually built for
Here’s what nobody tells you upfront: n8n was built to be flexible enough for developers, but it was also designed with a visual, drag-and-drop canvas specifically so non-coders could use it too. You’re not sneaking into a developer tool. You’re using it exactly as intended — just starting with the simpler features first.
Is n8n Free? (The Question Everyone Asks First)
This is usually the very first question I get, and it’s a fair one. Nobody wants to spend hours learning a tool only to discover it’s locked behind a paywall the moment it gets useful.
Self-hosted Community Edition vs. n8n Cloud
n8n comes in two flavors. The Community Edition is free software you can run yourself, with no limit on how many workflows or automations you build. The Cloud version is a paid, hosted option where n8n manages the technical side for you, and pricing scales with how often your automations run.
What “free” actually costs you
Here’s the honest part: self-hosting isn’t free of effort, even though it’s free of a monthly bill. You’ll need a small server to run it on, and you’re responsible for keeping that server updated and running. It’s genuinely doable for a beginner, but it does mean a little extra setup compared to just clicking “sign up.”
When paying for Cloud makes sense
If the idea of managing a server sounds like a distraction from actually learning automation, n8n Cloud removes that step entirely. You pay a monthly fee, and everything technical is handled for you. For a lot of beginners, that trade-off is worth it — especially in the first few months of learning.
The Simple Answer
Yes, n8n is free if you self-host the Community Edition — you just cover your own small server cost. If you’d rather skip server setup entirely, n8n Cloud is a paid option that removes that step for you.
n8n vs. Zapier — Which Should a Beginner Actually Learn?
You’ve probably seen these two names mentioned together everywhere. And that’s exactly why this comparison matters before you commit your time to either one.
The honest tradeoff
Zapier is built for speed. You can connect two apps and have something working in minutes, with almost no learning curve. n8n takes a little longer to get comfortable with, but it rewards that extra effort with far more flexibility once your automations get more complex.
A simple decision test
Ask yourself this: do you mainly need to connect two popular apps quickly and move on? Zapier will get you there faster. Do you want to eventually build more advanced, multi-step automations — possibly including AI tools — without your costs climbing every time you add a step? That’s where n8n starts to make a lot more sense.
There’s no wrong answer here. Plenty of people start with Zapier for simple tasks and pick up n8n later once they want more control. This guide is for the second group — and if that’s you, keep going.
You may also read: Zapier vs Make.com vs n8n: Which Automation Tool Should You Choose?
Do You Need to Know How to Code?
This is the fear question. And I want to be direct with you: no, you do not need to know how to code to start using n8n.
What “low-code” really means in practice
n8n is built around a visual canvas. You drag nodes onto the screen, connect them with lines, and fill in simple settings — like which email address to send to, or which spreadsheet to update. Most of what you’ll do in your first few weeks involves zero code at all.
The one skill that actually helps
The real skill you need isn’t coding — it’s thinking in steps. If you can break a task down into “first this happens, then this happens, then this happens,” you already have the mindset n8n is built around.
When you might eventually touch a little code
Down the road, if you want to do something very specific that doesn’t have a ready-made node for it, you can optionally add a small snippet of JavaScript. But this is entirely optional, and most beginner workflows never need it. I was nervous about this part too, until I realized how far you can get without ever opening that door.
How to Install n8n (Pick Your Starting Path)
Once you’ve decided n8n is worth learning, the next question is simple: where do you actually start clicking?
1. Option 1 — n8n Cloud
This is the fastest way to get a working account today. You sign up, verify your email, and you’re inside the workflow editor within minutes. No server setup required. This is the better starting point if you want to focus purely on learning the tool itself.
2. Option 2 — Self-hosting
This means installing n8n on your own server or a low-cost hosting service. It takes more setup time upfront, but it’s completely free to run and gives you full control over your data. This path suits beginners who don’t mind a short technical detour in exchange for long-term savings.
Which one you should pick
If this is genuinely your first automation tool ever, start with Cloud. Get comfortable with nodes, triggers, and building workflows first. You can always move to self-hosting later once you understand what you’re actually managing — trying to learn server setup and automation logic at the same time is where most beginners get overwhelmed and quit.
The Core Concepts You Need Before Building Anything
Before you touch your first real workflow, there are three words you’ll see constantly. Once these click, everything else in n8n gets a lot easier to follow.
Triggers
A trigger is what starts your workflow — the first domino. It could be a schedule (“run this every morning at 9am”), a new form submission, or you simply clicking a button to test things manually.
Nodes
A node is a single step inside your workflow — sending an email, updating a spreadsheet, posting a message. You connect nodes together in a line (or with branches) to build the full automation.
Executions
An execution is simply one full run of your workflow, start to finish. n8n keeps a history of every execution, so if something goes wrong, you can look back and see exactly what happened and where.
Think of it like cooking a recipe: the trigger is “start cooking,” each node is one step in the recipe, and the execution is the finished dish coming out at the end. That’s genuinely most of what you need to understand before building your first workflow.
Your First Real Workflow (Step-by-Step for Total Beginners)
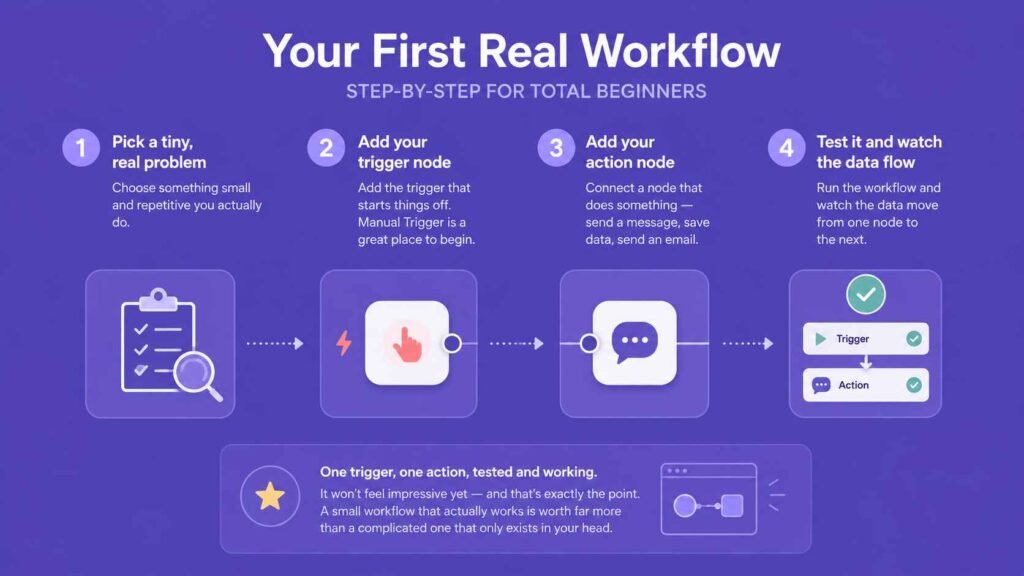
This is the part that actually matters most — not reading about n8n, but building something small and real inside it.
1. Pick a tiny, real problem
Don’t start with your most complicated task. Pick something small and repetitive you actually do — like getting a Slack message every time someone fills out a specific form, or saving new emails to a spreadsheet.
2. Add your trigger node
Open a new workflow and add the trigger that starts things off. If you’re testing, the Manual Trigger is the easiest place to begin — it lets you run the workflow yourself with a single click.
3. Add your action node
Connect a second node that does something with that trigger — send a message, save data, send an email. Fill in the simple settings it asks for, like which channel or which spreadsheet.
4. Test it and watch the data flow
Run the workflow and watch what happens. n8n shows you exactly what data moved from one node to the next, which makes it much easier to spot and fix mistakes than you’d expect.
That’s genuinely it. One trigger, one action, tested and working. It won’t feel impressive yet — and that’s exactly the point. A small workflow that actually works is worth far more than a complicated one that only exists in your head.
Where to Go After Your First Workflow
Once you’ve got one small win under your belt, it’s tempting to want to build everything at once. Resist that urge — grow one skill at a time instead.
Realistic next skills to learn
After your first workflow, look into branching logic (doing different things depending on the data), scheduling (running workflows automatically on a timer), and basic error handling (what happens if a step fails).
Connecting AI tools to n8n
If you’ve been curious about combining AI with automation, n8n has built-in support for connecting to AI tools directly inside your workflows. You don’t need to master this early on — but it’s worth knowing it’s there for when you’re ready to explore it. If you haven’t yet, it’s worth reading our beginner’s breakdown of what AI actually is before combining it with automation.
Best free communities and resources
The n8n community forum is genuinely one of the most active, helpful spaces for beginners — people answer questions quickly, and you’ll find countless shared workflow templates you can copy and adapt instead of building everything from zero.
Key Takeaways
- n8n is free to self-host (Community Edition), or you can pay for n8n Cloud if you’d rather skip server setup entirely.
- You do not need to know how to code to start building real automations in n8n.
- Zapier is faster to start with, but n8n offers more flexibility as your automations grow.
- Every workflow is built from three core ideas: triggers, nodes, and executions.
- Your first workflow should be small and real — not complicated and hypothetical.
You’re Already Ahead — Just by Getting This Far
Here’s what I want you to take away from all of this: n8n looks complicated from the outside because of unfamiliar words like “nodes” and “triggers” — not because the actual skill is hard to learn. Once you’ve built one small, working automation, the rest starts to feel like a natural next step instead of a mountain to climb.
Remember that copy-paste task I mentioned at the start of this guide? It’s automated now. It took me one small workflow to prove to myself I could actually do this — and it’ll likely take you the same.
Start small. Build one thing. Then build the next one.